

Product pages may be the most important touchpoint of your clients’ stores, especially when it comes to communicating the value of their products. Visuals play a key role in the process of storytelling and engaging with buyers, and you can now take this to the next level using product media.
With the recent addition of media filters and attributes for Liquid, Shopify has expanded its support for product pages to display product videos and 3D models. These enhancements are available for use on all Shopify stores, and you can start implementing product media on your client's storefront or custom themes today.
This new feature allows merchants to showcase products in new and exciting ways, whether it's displaying a video of how the product is used, or enabling 3D models to give buyers a more authentic view of a product. This makes product media a valuable customization you can offer to clients to improve the visual appearance of their product pages, and it’s a useful feature you can add to your custom themes as well.
In this article, we'll explore the new Liquid variables and filters that allow video and 3D model rendering, as well as taking a practical look at how product media can be implemented in a theme. We'll also unpack some of the considerations you should be aware of when laying out these elements on a page.
Media for merchants
For your clients, the process of uploading videos or 3D models to their products is the exact same as how they previously associated images with products. Now, instead of just accepting image files, your client can upload .mp4 and .mov files for videos, or .glb files for 3D models through the product section of the Shopify admin.
When product videos are uploaded directly to Shopify, our servers will render them using the default HTML5 video player. Alternatively, your clients can link to a YouTube video URL that can be displayed as an embedded iFrame on the product page. For 3D models, we're using Google’s model-viewer component to render your clients’ products as interactive 3D images.
You can add a separate thumbnail image to your video that will appear when a product page loads, rather than using the auto-generated image. Alt-text can also be added to each of the videos, models, and images through the admin.
While adding video and 3D model files is now possible in the admin, you’ll need to update your clients’ themes for these features to appear on the front-end of their store. Currently every paid theme in the Shopify theme store has implemented this product media feature, as well as the Shopify-built Debut, Brooklyn, and Narrative themes.
Let's take a look at how you can get started building this into your clients’ stores and into your own custom themes.
You might also like: The Essential List of Resources for Shopify App Development.
Using the product.media Liquid attribute
The product.media attribute is the building block that will allow you to display video, images, and 3D models on product pages.
Where themes previously iterated over the product.images attribute, developers can now use product.media since this includes support for a product's images, as well as a product's associated videos and 3D models. In this way, you can think of product.media as similar to product.images, but given new superpowers!
If used completely on its own, without applying Liquid media filters, the product.media attribute will return a mixture of file paths for images, and Liquid drops for videos and 3D models. As an example, if we add {{ product.media }} to a product.liquid file, we would see something like this rendered on the page:
products/boat-shoes.jpgVideoDropExternalVideoDrop
This is showing us that there is one image associated with this product, called boat-shows.jpg, as well as a video that was uploaded through the admin, and an externally hosted video. However, to display the media as images or videos on the page, we'll need to use media filters to apply the appropriate HTML tags which will render the media items correctly.
Build apps for Shopify merchants
Whether you want to build apps for the Shopify App Store, offer custom app development services, or are looking for ways to grow your user base, the Shopify Partner Program will set you up for success. Join for free and access educational resources, developer preview environments, and recurring revenue share opportunities.
Sign upSetting up Liquid tags
Before we look at how the media Liquid filters operate, it's important to outline which Liquid tags need to be set up to output the different types of media. Similar to how themes worked with the product.images object, we'll need to set up a for loop to iterate over each of a product's associated media items. This for loop will look like this:
Inside the for loop, we'll use the case and when control-flow tags to create conditions, and add class names for each of the different media types. A very simple example of how this could look, just for video, would be:
What we're seeing here is that the case tag is initializing a switch statement based on the type of media that is available, and the when tag defines the condition that will execute the code—in this situation, when a video is associated with a product. If the condition is met, a video (or videos if there are multiple) will be outputted within a container with a class of "product-video".
In the simple demonstration above, we're only running a case condition for one type of media, but you would be creating conditions for images, external video, and 3D models too. In that case, the full code would look something like:
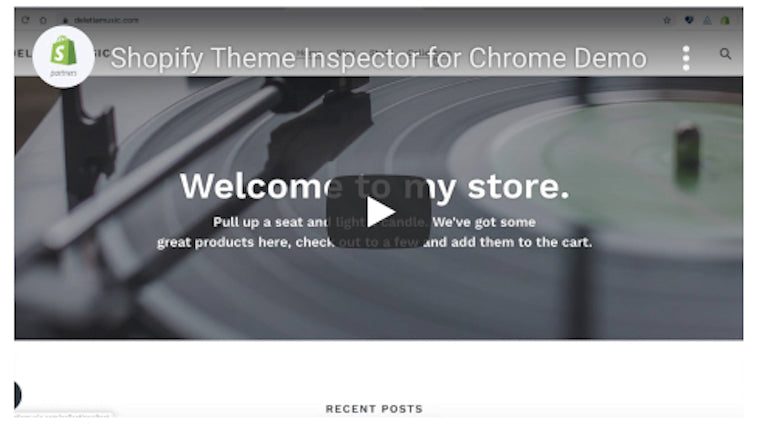
You can see exactly how the code above outputs on a test product page I created here.
When you're building your own logic for outputting the different conditions and containers for your product media, you could consider separating the main section with the control flow tags into a snippet.
The themes team here at Shopify took this snippet-based approach when updating our Debut theme to support product media. You can see this for yourself by downloading the latest version of Debut and examining the media.liquid snippet which is included in the product.liquid section.
You might also like: 30 Developer Resources to Diversify Your Skill Set.
Working with media Liquid filters
As you might have noticed in the code from the previous section, the different media types apply specific filters (e.g.: video_tag), so unpacking the functionality of these is next on our agenda!
The rich media feature for Shopify themes introduces a new category of Liquid filters, called media filters. These filters are applied to a product's media to generate URLs or HTML tags, and set specific parameters for media. Essentially, these filters allow for the images, videos, and models to render on a page, as well as allow for some customization in terms of how they're displayed.
For example, the external_video_tag will take a video drop created by the product.media object and wrap it in an IFrame HTML element that contains a YouTube video player.
This will output as HTML on the page:
When viewed on the product page, you should see this:
Each media type has a corresponding media filter that generates tags to allow it to be rendered. These are:
external_video_tagimg_tagmedia_tagmodel_viewer_tagvideo_tag
Some of these filters can have additional parameters passed to them. For example, with the video_tag filter, an image_size option can be added to change the size of the video's poster image, and a controls: true option can be added to display the video player’s controls:
{% when 'video' %}
 {{ media | video_tag: controls: true, image_size: "1024x" }}
Similar to the external_video_tag filter, HTML attributes such as class names can be passed as options to be added to the IFrame element:
{% when 'external_video' %}
 {{ media | external_video_tag: class: "youtube_video" }}
One interesting filter is media_tag, which can render all media types and applies the necessary HTML to display images, video, and 3D models. However, this should be used with caution, since using only media_tag to render all media types on your custom theme means it's not possible to assign individual class names to specific media types.
Not all of the media filters are new to Shopify. The img_url was previously accessible to theme developers to output the URL of an image and define size parameters. When used with a media object, however, the img_url filter generates an image URL for the media's preview image.
You might also like: The Shopify Liquid Cheat Sheet.
Considerations for page layout when using product media
Depending on the theme your client is using, or how your custom theme is built, you may need to adjust the product page layout to ensure the different media types are appearing correctly. For instance, you may need to set up various CSS rules to load different poster image sizes depending on the product layout and how many media items are displayed.
This is especially true if the product page uses a gallery or thumbnail images below the main featured image. For positioning videos and ensuring they are responsive, you could consider containing the video in an aspect ratio box.
The key to achieving a neat array of media on the product page will be testing. A good approach is to test out different media types with different sizes and combinations of media. To support your page layout changes, we'd recommend looking at how product media is set up on Debut, which can be used as a model for your own implementation. When you're testing out models, you can use our sample model files that meet all the criteria in the 3D standards checklist.
You may also need to edit your custom theme's Javascript files and events to accommodate media galleries, and test that thumbnail images work correctly when switching to different featured product media. For additional advice on working with custom Javascript for product media, you can check out this tutorial in our developer documentation.
Unlocking the power of media
Using product media to display video and 3D models can be a powerful tool for conversions, enabling buyers to fully experience the products your clients are selling.
By unlocking this feature for your clients’ storefronts or adding additional functionality when building custom themes, you can increase the value of your project work and earn more revenue. Hopefully with the help of this article, adding product media to themes will be faster and easier.
Sign up for our Developer Digest newsletter
Stay up to date with the recent changes to Shopify APIs and other developer products with our quarterly Developer Digest.
Sign up