

Last year, over $1.5 billion USD was collectively sold by Shopify merchants around the world during Black Friday/Cyber Monday (BFCM)—which means it's a great opportunity for Shopify Partners to provide services that help clients gain visibility during this busy period.
In the run up to BFCM, it's important that your client's themes give them the option to let their buyers know there's a sale or promotional offer running. Announcement bars are a simple yet effective method to leverage this time of year and drive awareness to a deal or discount code.
Announcement bars are also useful in other circumstances, like displaying important shipping information, showcasing a new loyalty program, or promoting any custom messages that your clients want to present.
In this article, I’ll demonstrate how to use Liquid to build an announcement bar section, expanding the feature set of your custom themes, or providing client services. I’ll also look at how Liquid’s section settings can be leveraged to allow customizable options, which empowers clients to personalize their sales announcements.
Grow your clients’ sales with the BFCM Toolbox
Help get your clients prepared with guidance on discounts, shipping, marketing, and more with our updated BFCM Toolbox. Use the BFCM Checklist to make sure you haven't missed a thing, and help your clients maximize their BFCM results.
Help me prepCreating a new announcement bar section
Before we get started creating an announcement bar, we need to decide what types of elements we would like to contain in this section. Depending on your client’s requirements you may need text, headings, or other input settings. Here are some of the settings you could add:
- Text
- Hyperlinks
- Color
- Font-size
- Checkbox
For this tutorial, I'll be creating settings for enabling the announcement bar, selecting background and text colors, adding text, as well as embedding a hyperlink. By using Liquid’s section objects, we can create settings which will be accessed from the theme editor to assign the heading text, link URLs, and choose which images we would like to appear.
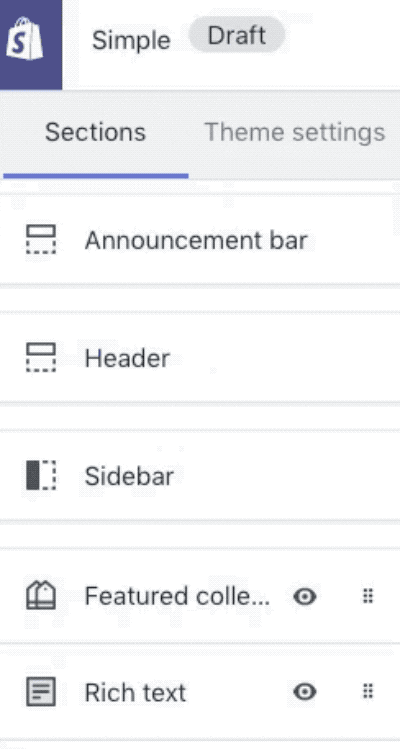
The first step we need to take is to create a new file in our theme's /sections directory, called announcement-bar.liquid. You could add new settings to an existing header section file, but for the purposes of this tutorial, we'll be creating a new section which will be positioned just above the header.
Once this section file is created, we can add the basic markup that will contain the announcement message, as well as simple if statements that will correspond with section settings:
What we'll create here are section settings that will allow us to display the announcement bar when specific options are enabled. We'll also add a checkbox to enable the announcement bar just on the home page, since your clients may not want this appearing on every page of the store. Below where we have added the HTML, we would include these schema tags and JSON:
As you can see, the IDs within the JSON array in the <schema> correspond with the objects we see in the markup. For example section.settings.show_announcement has a corresponding value within the schema tags which creates a connection between the two elements and instructs the theme editor which properties are available to it.
In this case, a checkbox will appear on the theme editor, which if ticked will display the announcement container and message. We also will have a second checkbox to allow us to hide the announcement bar on non-home pages. Now let's add some content options.
You might also like: How to Use Shopify Theme Settings to Create Mobile-Specific Logos.
Content options
We want to allow text and a hyperlink on the announcement bar, so we'll add objects that can access a text field and a URL value. Again, we can use if statements to hide this content if they're not being used:
The two new section.settings objects will allow us to create options for adding text and a URL, once we create corresponding values within the schema tags. There are specific input types for both text and url which will generate options in the theme editor:
The last addition we're going to make for this section is to add options for choosing background and text colors for our announcement section. What is very helpful is that it's possible to adjust the CSS of our theme, based on values within the schema tags. For example, we could create a setting with a type of color which would send a selected color value to a CSS property.
What this would look like in our case would be a section setting like this:
We can give the announcement bar a default color of black, and when viewed on the theme editor, your clients will see a color picker tool. The announcement_bar_color ID would this time be referenced within <style> tags on the section:
Now the hex code which is chosen with the color picker on the theme editor will be represented by the section.settings.announcement_bar_color property value, and clients will be able to adjust colors with ease. The same approach can also be taken with the announcement bar text color.
At this stage, you can also add some CSS within our <style> tags to ensure text is positioned correctly and there's enough padding. Once the entire section is created, you should see something like this:
Adding to the theme layout
The final step is to include this section in the theme layout. We want this section to be available on every page of the store, so we'll add this to the theme.liquid file in the layouts folder.
To import a section file into a layout file, we would use the section theme tag, and reference the name of the Liquid file. We'll want this section to appear above the header, so we'll look for {% section "header" %} and place {% section "announcement-bar" %} on the line above.
Now when we navigate to the theme editor, we'll see options for customizing this announcement bar section:
You might also like: 15 Tools to Customize Your Terminal and Command Line.
Beyond announcements
It's the perfect time to ensure your custom themes have an announcement bar, not only for the upcoming BFCM season, but for any occasion when your clients are looking to promote information on their store.
Regardless of how you use announcement bars in your custom theme builds, there’s no doubt that they’re a powerful tool for gaining visibility on key messages. Hopefully with these skills in your partner toolkit, you can help your clients be prepared for the upcoming BFCM season, and beyond.
Grow your business with the Shopify Partner Program
Whether you offer marketing, customization, or web design and development services, the Shopify Partner Program will set you up for success. Join for free and access revenue share opportunities, tools to grow your business, and a passionate commerce community.
Sign up