

At Unite 2017, we talked about our improved Custom Storefront development kit, which stems from the new GraphQL Storefronts API, and allows developers to more effectively build ecommerce experiences into websites, mobile games, and mobile applications.
Given that in the US, roughly 30 percent of ecommerce sales occur on a mobile device and that Android recently announced two billion monthly active users, adding in-app shopping experiences to native Android mobile apps makes a lot of sense for app developers — and Shopify’s Android Buy SDK makes this simple and easy to implement.
To help guide you through how to use our Android Buy SDK to add Shopify’s full suite of ecommerce capabilities to your existing Android app, Josh Brown — Developer Advocate on the Apps Team at Shopify — recently led a webinar taking you through this SDK, and how you can use this library in your mobile app development.
What is the Android Buy SDK?
The Android Buy SDK is a library that mobile developers can use to build commerce into any Android mobile app. With this library, you can:
- Set-up a client to securely access Shopify’s Storefront API.
- Fetch products and collections, and surface them into your app.
- Allow customers to sign-up through your app.
- Create checkouts and process payments.
The basics of what you can build
Knowing that many developers like to be hands-on with their code, we built a sample app from the Android Buy SDK that will allow you to quickly dissect how it works, and how you can implement it in future projects. You can access the sample app through the Android Buy SDK’s Github repository.
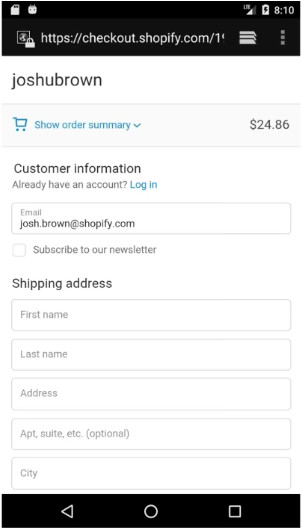
Based on this sample app, below is an example of what the app’s index screen could look like, as well as the collections page, product page, and a checkout page that includes options for both web checkout and Android Pay.

Now that you have an overview of what you can build using the Android Buy SDK, below are the nine steps to building ecommerce experiences into your mobile app.
You might also like: Custom Storefronts — Building Commerce Anywhere.
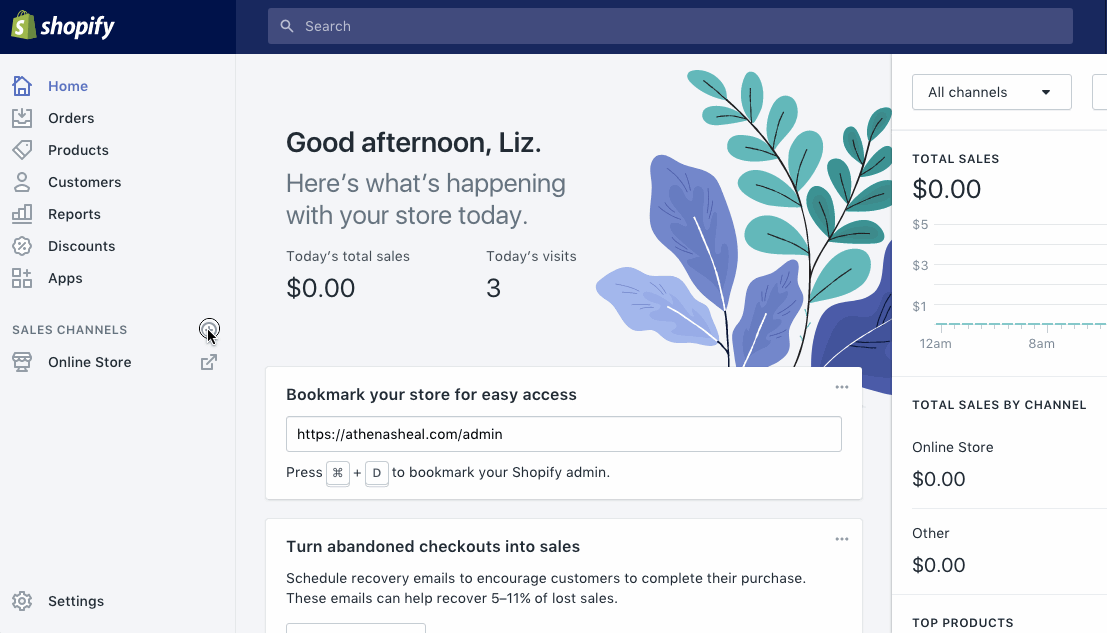
Step 1. Create a Sales Channel to get an API Key
Accessing an API key will allow you to connect your Shopify store to your Android app, and can be done directly within the Shopify Admin in a matter of seconds. To connect your store, you’ll use the Sales Channel function. As shown in the GIF below, you’ll need to:
- Click + next to Sales Channels in the right hand menu.
- Scroll down and select Mobile App.
- A new screen will load; copy and paste the API key provided at the top.
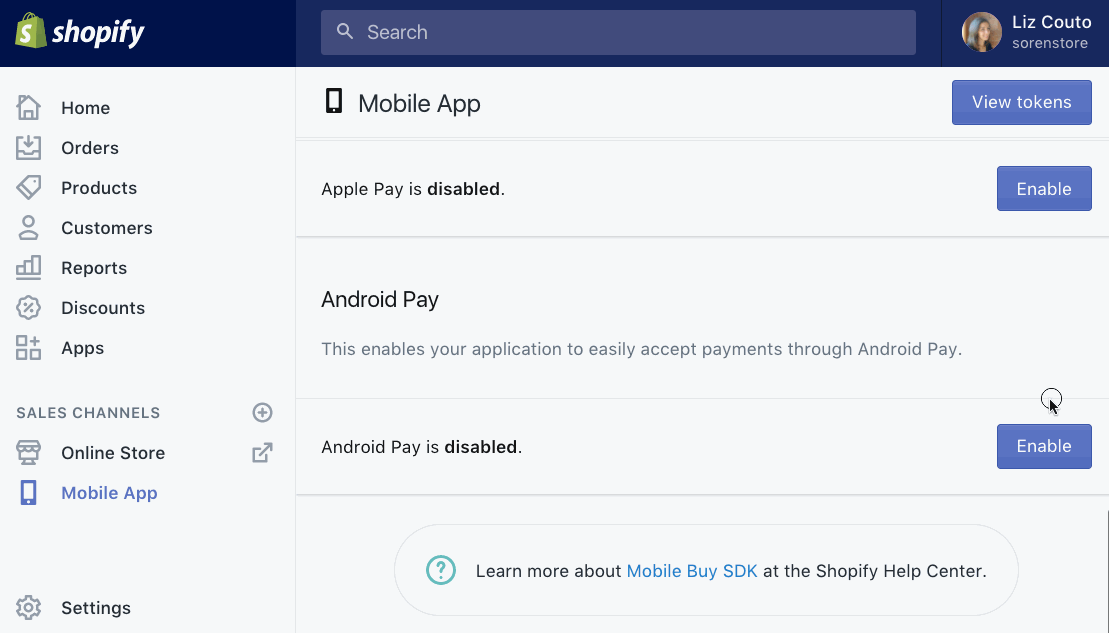
In addition, if you’d like to integrate Android Pay as a payment option, scroll down on the Mobile App page you just created, and click Enable in the Android Pay section at the bottom of the page. This will provide you with a specific public key for this function.
Step 2. Add the build dependencies
Now that you have your API keys, you’ll need to add some lines of code for build dependencies. If you’re using a common Android app building tool like Gradle, you’ll want to add the following line of code to use Shopify’s Android Buy SDK without Android Pay.
compile 'com.shopify.mobilebuysdk:buy3:3.x.x'
Or add the following line if code if you’d like to use the SDK along with enabling Android Pay.
compile 'com.shopify.mobilebuysdk:buy3-pay-support:1.0.0'
Step 3. Setup the GraphQL client
As mentioned, this SDK stems from the Storefronts API, which is built in the query language GraphQL. By setting up the GraphQL client, you’ll be able to make query requests through Shopify, as well as modify data through mutations.
By adding the code below, and plugging in your shop domain (eg. joshubrown.myshopify.com) and the API key, you’ll be able to quickly set up your GraphQL client.
graphClient = GraphClient.builder(this)
	.shopDomain(BuildConfig.SHOP_DOMAIN)
	.accessToken(BuildConfig.API_KEY)
	.build();
Step 4. Defining a query
By defining queries, you’ll be able to help build the GraphQL requests that connect the app to the Shopify store data, including products and product details such as price, description, and inventory numbers.
This particular request allows us to fetch data, but not modify it. In the example below, we’re requesting the Shopify store’s privacy policy, so that it can be included in the mobile app.
Pro tip: You can make your code smaller using Lambda expressions. This is available via the SDK through retro Lambda. The rest of the code samples in this tutorial will use Lambda.
Step 5. Make a call to the API
Once you’ve defined the query, use Lambda expressions to make calls to the Shopify API. First, you’ll define the call using queryGraph. Then, you’ll queue the request to the API using call.enqueue. You’ll want two callbacks: one for onResponse and one for onFailure. The Failure callback is useful for signaling an error due to server outages.
Step 6. Retrieve product and collection data
In Shopify, products are organized into collections, which have one or more product variants, including price and quantities available. To surface the products you’d like to sell through the app, you’ll have to retrieve this information. As well, in the Shopify admin you can make products that are exclusive to your mobile app.
The code below is to request the product data and collections data. We’re asking Shopify to provide us with a max of ten collections, the title of each collection, and within each collection, up to ten of that collection’s products.
Step 7. Add search
If your shop has a broad selection of products, it may be useful to add in a search function. The code below provides search for products that match the title of the customer’s query. In this case, products with “lime” in the titles.
The example above is an example of a specific field search (only searching titles), but this SDK also allows for:
- Fuzzy match search: Finds matches even if the search words have no perfect matches. Finds correspondences for parts of the text submitted.
- Negative matches: Blocks search results based on a certain word. For example, if an app user submits “Free” into the search, you can prevent products containing this word from appearing.
- Combination search: If there’s a broad offering of items in the shopify store, you can have the user submit two search queries together. One scenario would be if they wanted to search the product category (eg. “Drink”) and a product type (eg. “Tea”)
Step 8. Integrating customer sign-up
This SDK also supports mutation requests, which will allow you to create and modify data in a Shopify store.
In GraphQL, query requests have comparable functions to get requests in REST. Similarly, mutations correspond with pull or post requests.
One great use case for mutations is allowing for customer sign-up within the app. In the first part of the code below, you’re able to gather customer information including first and last name, email address, and password. You can also request an opt-in for marketing promotions, which can be useful for future newsletters and CRM.
As well, since mutations allow you to modify your Shopify data, customer sign-ups will be recognized in online stores and on Shopify POS systems as well.
The second half of the code creates a user error field to help you catch any validation errors. In this example, if a user tries to sign-up with an email address that already exists in the database, you could push a response such as, “Email address already exists in the app. Maybe you already have an account with us?”
You might also like: Learn to Build Apps for In-Person Sales Using Shopify's POS App SDK.
Step 9. Setup the checkout
As mentioned in the beginning of this tutorial, this SDK gives you the option of providing two types of checkouts in your app. The first option is to add the Shopify web checkout and the other is using Android Pay cart.
Web checkout
One simple option is to create the checkout within Shopify, and redirect the customer toward the checkout in your Shopify web store. You’ll use a mutation to make this happen. Once the checkout is complete, customers will be redirected back to your app through a special UTM parameter that you can set-up.
The most important part of setting-up the web checkout is putting in a line item input. The line item input will ask for a variant ID, and will ask customers for the quantity of product they want to purchase. Please note that these differ from the variant IDs in REST APIs. For product quests, we’ll be working with the Product Variant IDs.
You’ll also want to set-up two call-backs again: one for response, one for failure.
- Error 1: Network problem.The checkout cannot be complete due to an unexpected server outage.
- Error 2: User error. The checkout cannot be complete because of an incorrect input from the user, such as incorrect login information.
Android Pay
Once again, if you’d like to use Android Pay in checkout, you’ll need to add the following build dependency in Gradle.
compile 'com.shopify.mobilebuysdk:buy3-pay-support:1.0.0'
One important thing to note, is that Android Pay is not yet available in every country. If your app serves merchants globally, you should double check that this payment option is viable in the countries your clients are located in.
To setup the Android Pay Cart:
Congrats! You’ve now connected a Shopify Store to your Android app!
Now that you’ve enabled shopping within your app, your customers have new options for making online purchases. Or perhaps, your clients are thrilled that you’ve enabled a new way for them to sell online.
Learn more about our Mobile Buy SDKs
What are your thoughts on the Android Buy SDK? Let us know in the comments below!
